Framsden - winner of the 2mm Scale Association "Grand Jubilee Layout Competition" 2010

This layout is a model based on the Mid-Suffolk Light Railway.   It represents a station about midway along the southern branch.   The Mid-Suffolk Light Railway was never able to afford to build this intended branch, but I am imagining they did.   The locos and stock are models of those owned by the company and the station is similar in style to those which did exist, with the same design of buildings and other features.   I have placed the station in the location which local people have told me it would have been and the view across to the windmill is authentic.

My model is to a scale of 2mm : 1 ft., or 1:152 scale.   The track and stock are to the standards of the 2mm Scale Association.   It is similar in size to N gauge, but not N gauge.   N gauge models would not be able to run on this layout as the wheel standards are more coarse.

I started building the layout in 2008 and it was entered for (and won) the Grand Jubilee Layout Challenge of the 2mm Scale Association in 2010.   The locomotives and coaches, together with landscape details such as gates, building parts and the distinctive Mid Suffolk cattle dock I designed myself as etches and had them produced.   The etches are available via this website.


Platform-PDM_4070adjusted


Here are two views of a little (1/4 scale) model I made before starting the layout proper. It taught me a lot about how it was going to look and took virtually no time at all, using cardboard, MDF, Das modelling clay and acrylic paints. I would certainly include something like this in the process again on future projects.

Modeladjusted2     Model2adjusted

In plan view the layout is an exact ellipse, 36" x 18".   It was easy to calculate its exact area using the formula A=π.a.b where 'a' and 'b' are the semi-major and semi-minor axes.  At 3.53 sq. ft. it was well within the maximum value of 9.42 sq. ft. stipulated in the competition, but still achieved a satisfactorily spacious feel, I think.

I started by making the wrapper from three laminations of 1mm birch plywood.   Once this was finished I made a template to cut the profile.   I did this using a graph plotting package on the computer and a spread sheet effectively ending up with a graph on a long strip of paper to be wrapped around.   From the front, the projected shape is a hyper-ellipse - it uses nearly the same formula s an ellipse, but fills more of the enclosing rectangle.

n_a2

The first layer of wrapper being fixed to the elliptical former - two more layers to go.

Ellipse


An ellipse with semi-major axis of 18 units, and semi-minor axis of 9 units.

Hyperellipse


A hyperellipse for the front view of the wrapper with an index value of 3.

Spread sheet

A spreadsheet to work from x and y values around the ellipse, using Pythagoras' Theorem in short increments to get a distance, s, around the wrapper and relating that to z co'ordinates in the x-z plane.

n_a3

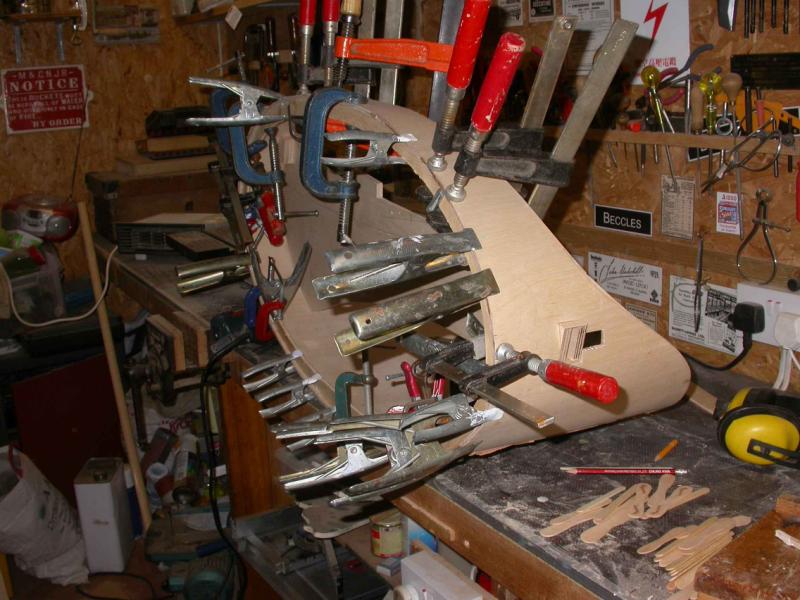
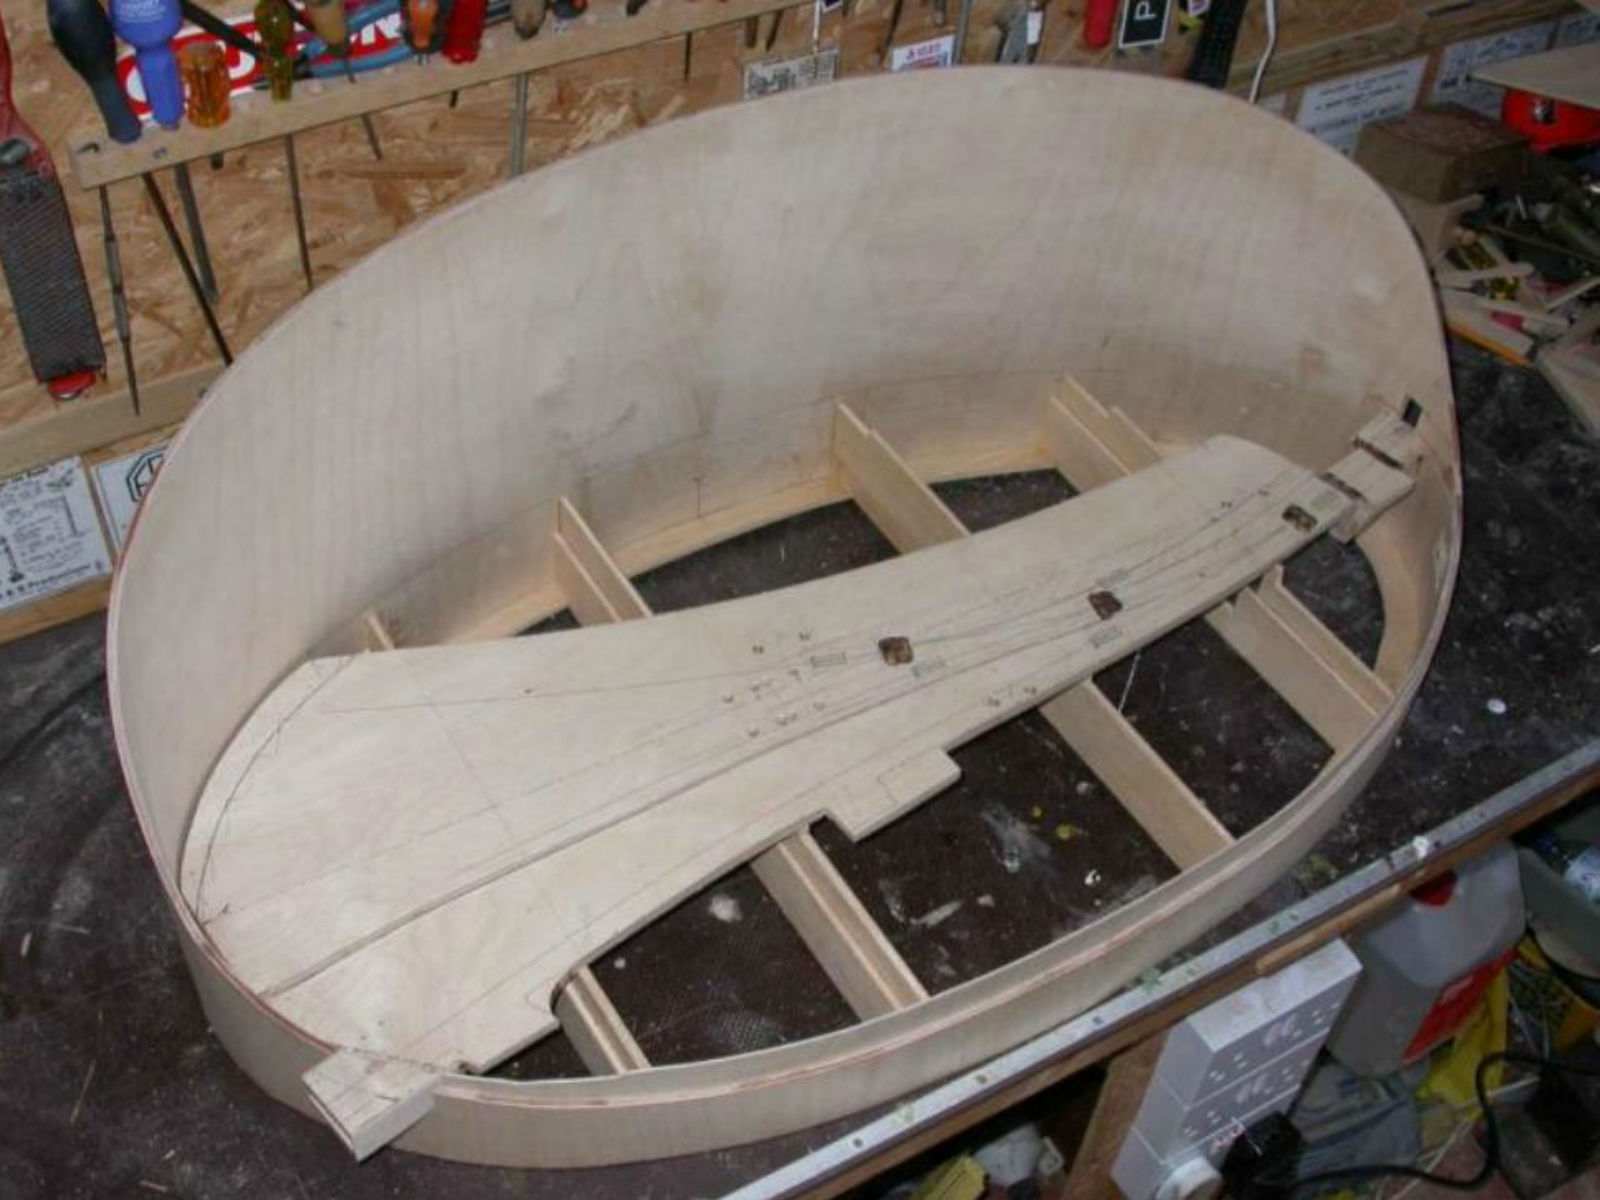
Adding a ring beam around the bottom for stiffness and to support transverse bearers.
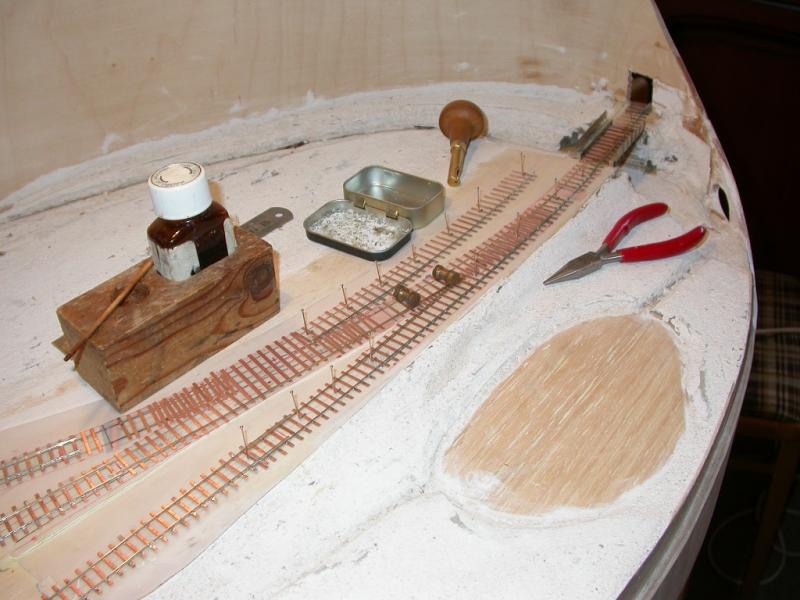
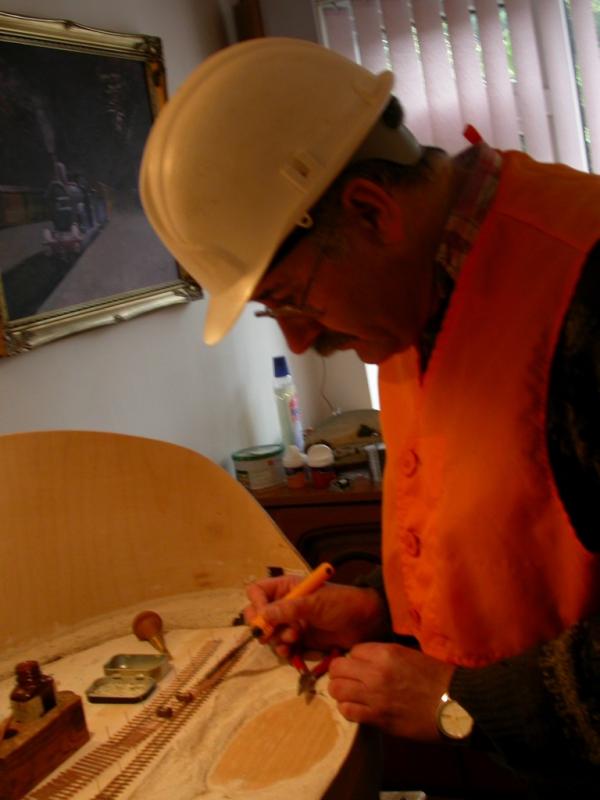
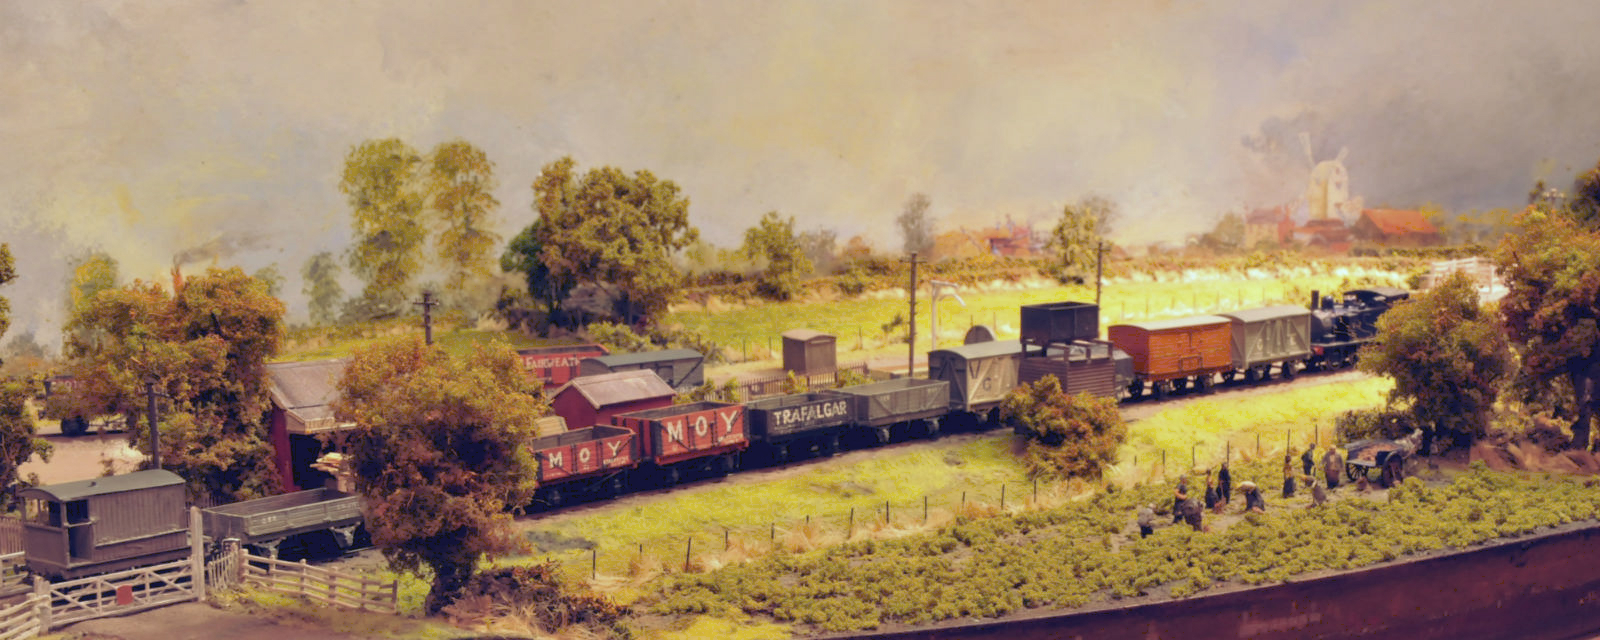
1200Framsden (1600x1200)

n_a5


n_a6


Building the track in situ - doing it this way the pointwork can be built to match the curve and in fact the opportunity of some compression was used in the goods yard.   Of course I was correctly dressed and observed the correct safety precautions whilst working on the track.

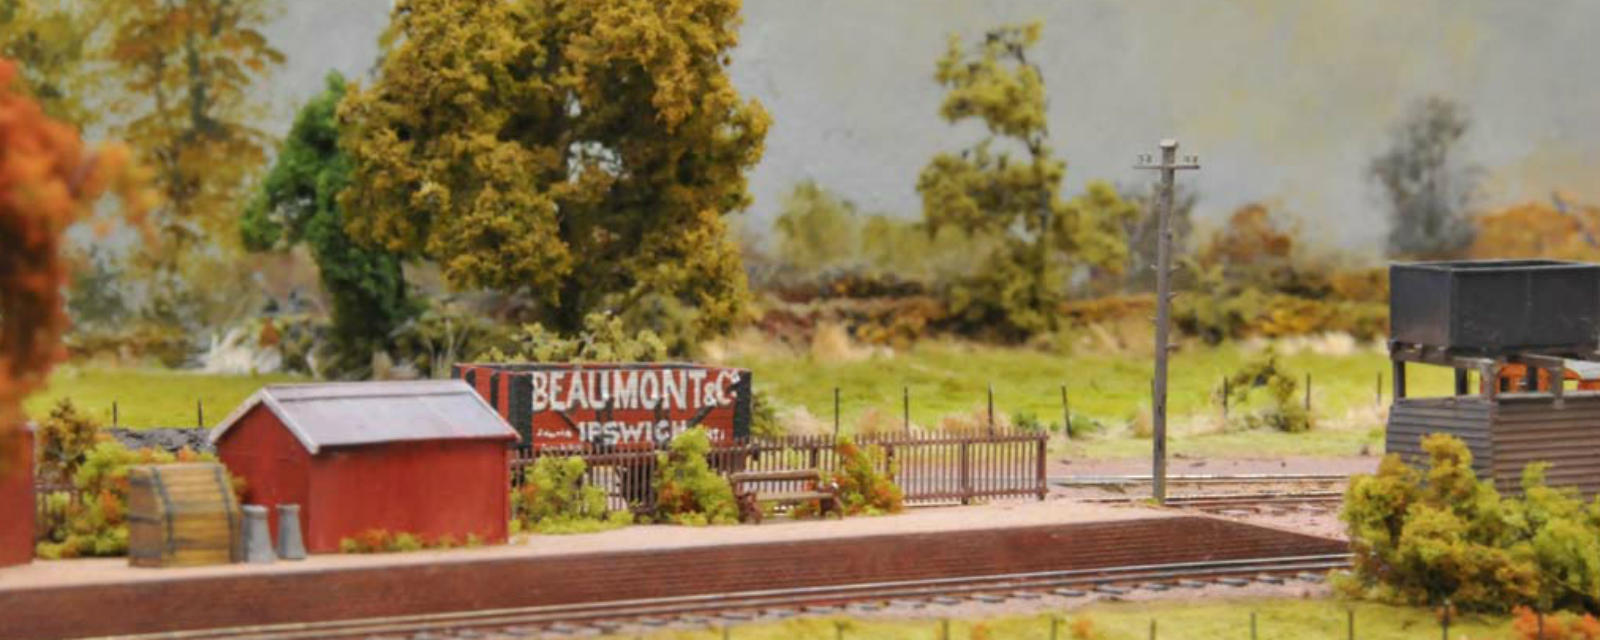
Here are some views around the layout: 


Goods yard PDM croppedadjusted

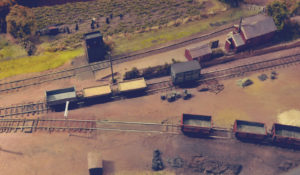
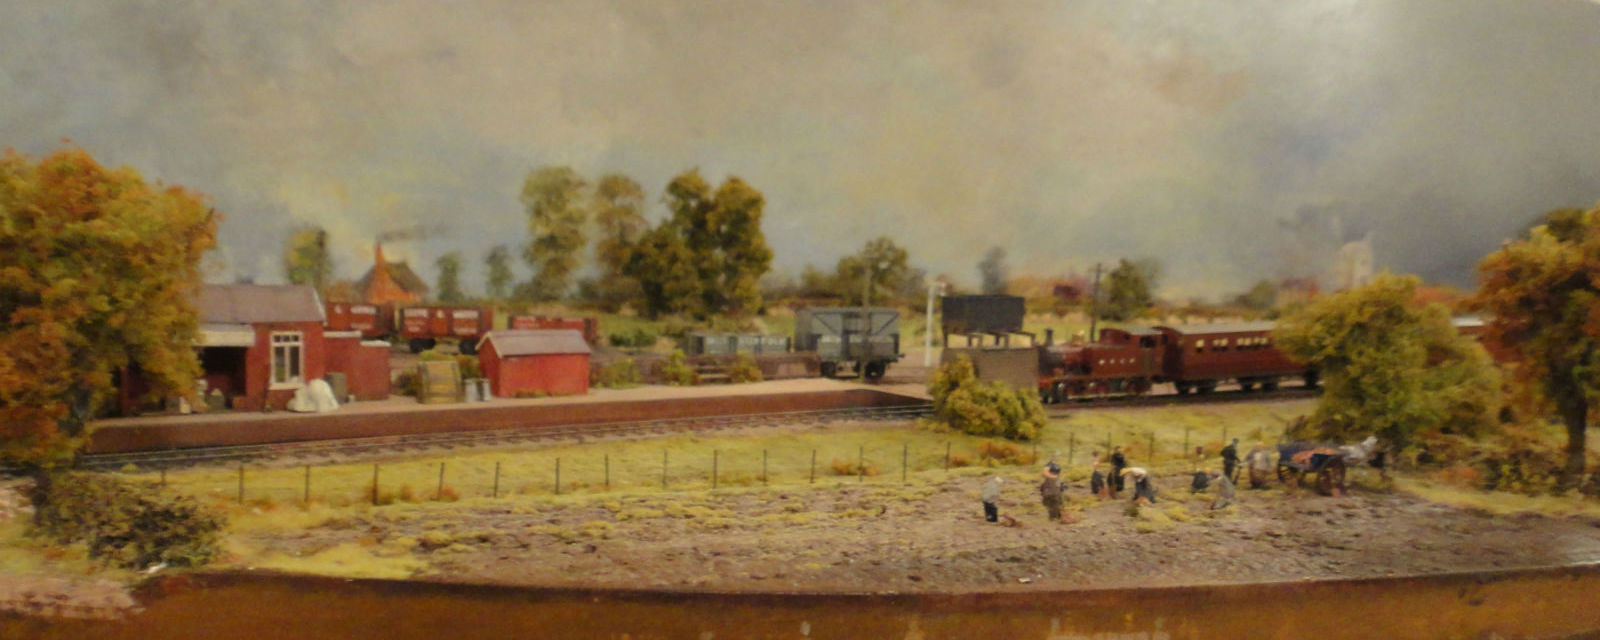
A view across the goods yard.   You can see some casks which have been offloaded.   (I made these on the lathe - took a piece of dowel and turned it to the correct profile several times along the length, stopped the lathe and painted parallel stripes for the staves, switched on the lathe again and rested a biro against the barrels at the correct positions and the resultant rings of ink represent the very thin hoops.   Then the slight lip at the top of the first barrel was represented by turning a flat dish within the end and the first barrel was parted off.   The process was repeated and then the ends of the barrels painted before fixing to the layout.)

Next to those are some clay pipes used for land drains.   The first ones are stacked neatly, but then maybe the men were in a hurry and the rest got thrown off!

Goods yard3-PDM_4105(adjusted)

The white pile next to the minerals siding is lime - for modifying the soil agriculturally.   I used limescale collected from my kettle.   To the right of it you may see a yellow stain on the ground.   I am imagining a load of sand has recently been removed, but still shows a witness.

Pond2

Long view south-PDM_4109adjusted2

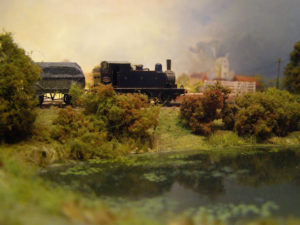
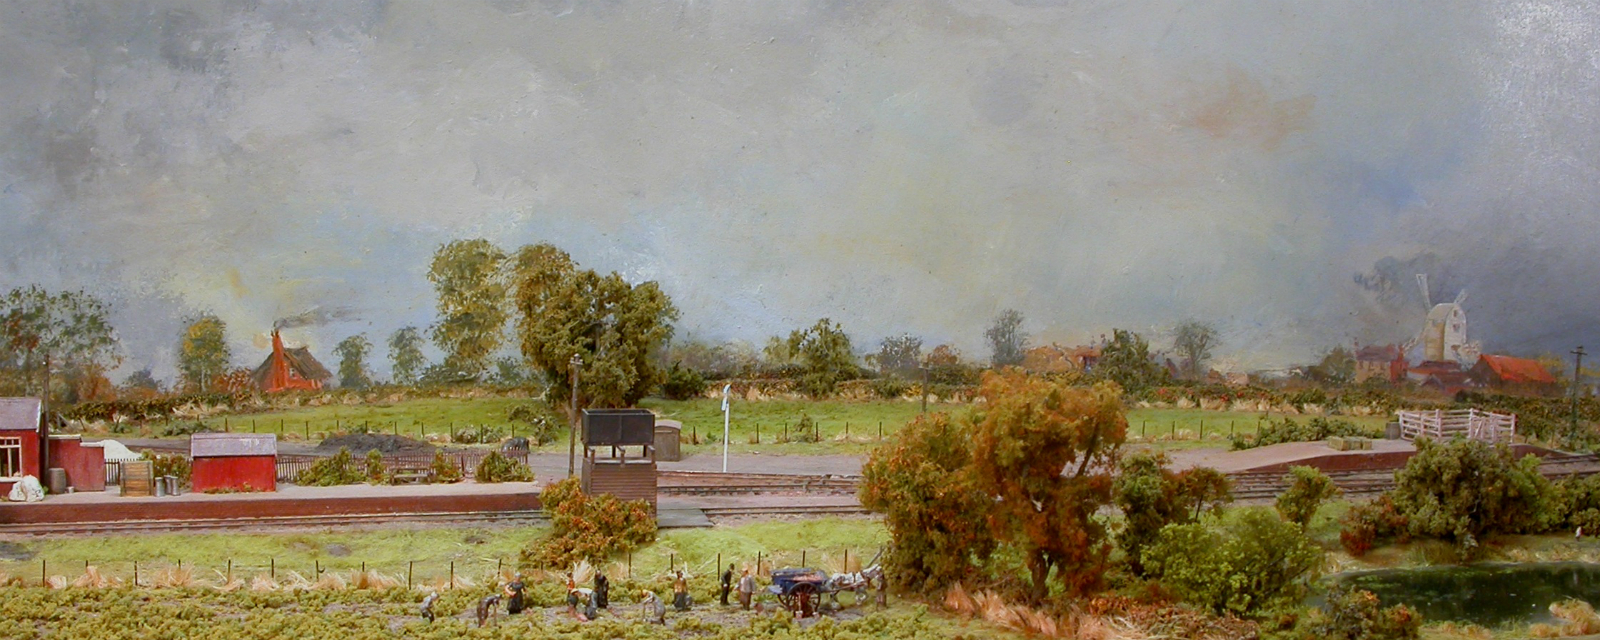
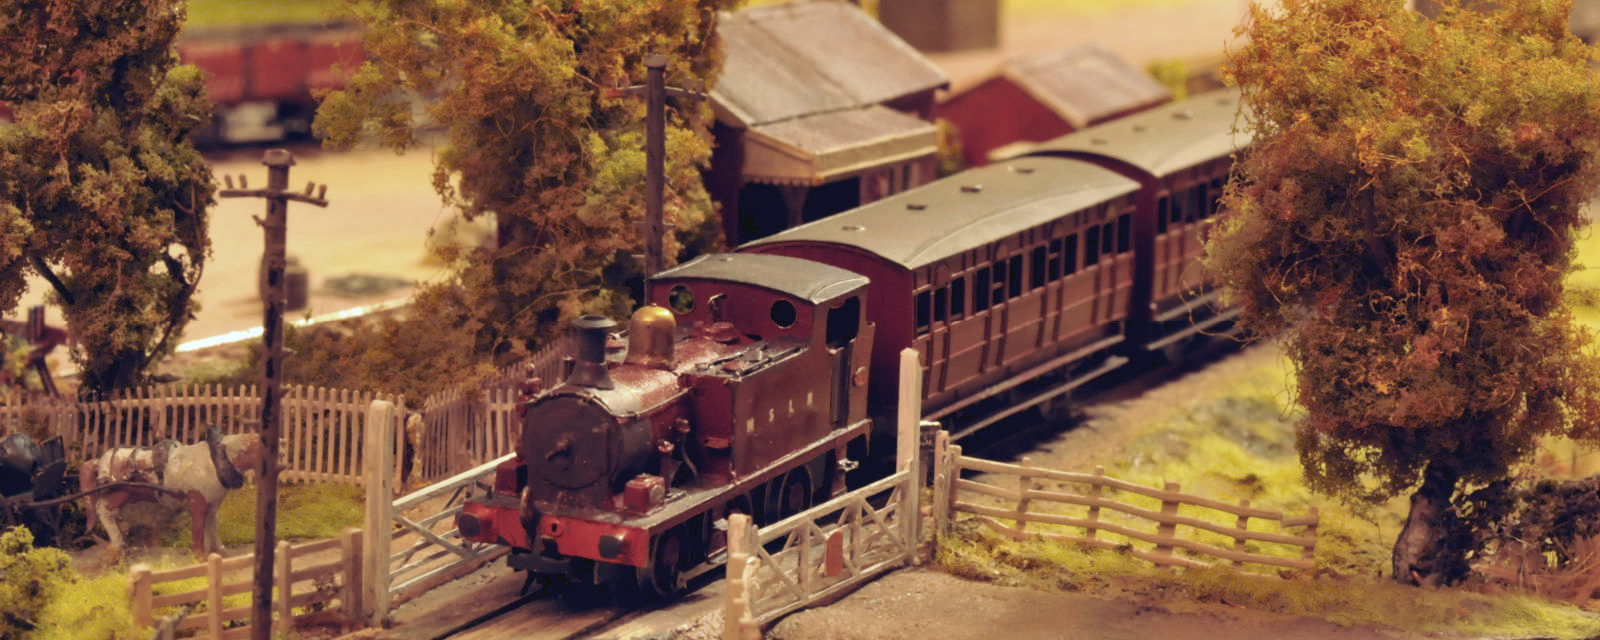
A train enters the station from the south.

Platform-PDM_4070adjusted

Goods yard2 PDM_4071(adjusted2(hsl))


Two views of the level crossing.

12Level crossing (1600x1000)
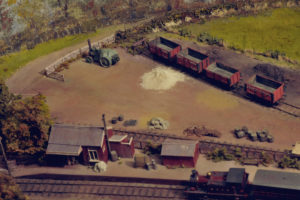
Notice the gates are not to the same design.   The story is that one of them was replaced following damage when a train ran into it (It did happen.) - the actuality is that I lost one of the gates when I came to fit them and so made a substitution.

Level crossing4 (1776x1000)

I later found the gate I had lost and have painted it in pink primer - it is going to be added as a load in one of the Engineers' Dept. wagons as if it is itself a replacement .

Making the rolling stock.

This was done by designing and making my own etched kits.   In this way I provided the locos, coaches and some of the wagons for the project.  The models are drawn on the computer and the file sent to Photo Etch Consultants in The Midlands.   They come back a few weeks later as a sheet of etched metal.   I then cut the parts out, curve and fold them where necessary and solder them together on my trusty Orion jig.
More wagons were made from plastikard and put on etched chassis available from the 2mm Scale Association.

Coach outline drawing

Coach drawing     

MSLR First class coach     
  

DSCN5890

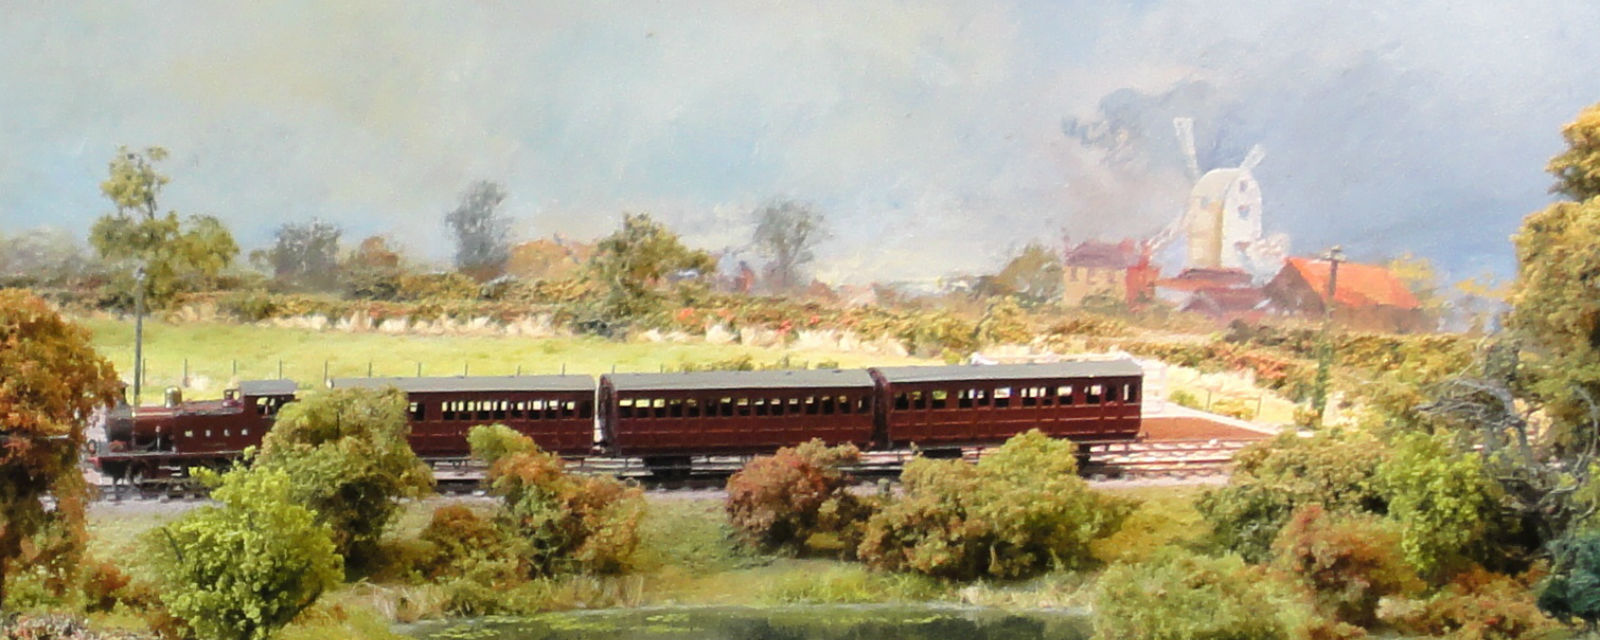
An earlier view of the layout showing the windmill area of the backscene.   I sometimes like things to have a sketch-like quality, especially in the background, but  later I decided to rework the painting into something more refined.

16DEAG_Sept_08_08 (1600x1000)

Three scenic views taken by my friend, Henk Oversloot, at the Oxford Expo of the 2mm Scale Association in 2010 can be found in the page on backscenes.

A view showing the underside of the layout, with all the working mechanism.   The layout is run by dcc and the points are manually operated from the lever frame seen on the left.

17Underside (1600x960)